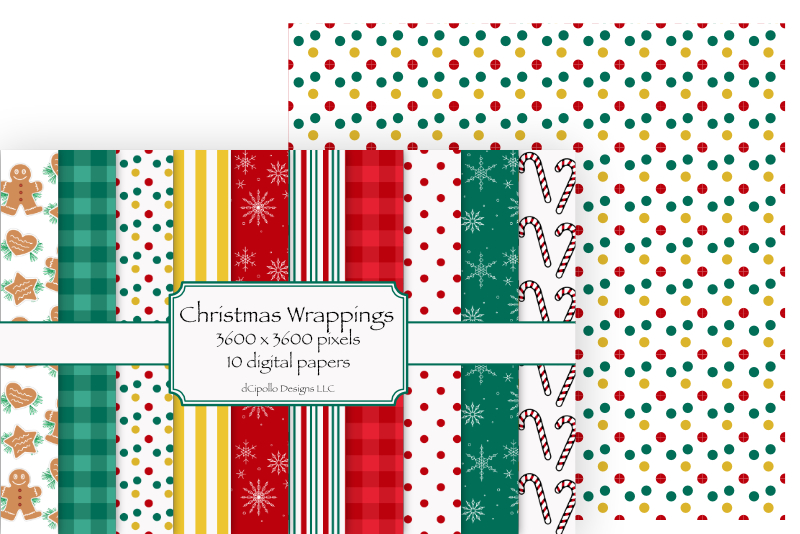
Holiday Dotted Pattern Paper

In this Affinity® Designer tutorial, we will create a simple dotted pattern paper design. Once the simple design is created, we will add to it for more interest.
Creating a repeatable pattern begins with creating a one inch tile. This tile is what will repeat over the entire canvas.
Affinity Designer screenshots used by permission of Serif (Europe) Ltd. This article is not endorsed by Serif® Ltd.
Creating a repeatable pattern begins with creating a one inch tile. This tile is what will repeat over the entire canvas.
- Start a new project that is 12 inches by 12 inches at 300 dpi.
- From the top menu, click View - Show Grid. Also from the top menu, click View - Grid and Axis.
- Click the Basic tab and set the Spacing to 1 inch and Divisions to 1 (see screenshot). Let's start drawing the circles for the tile inside the first grid square. We will make our circles red.
- With the Ellipse tool, draw a small .25 inch by .25 inch circle in the center of the first grid square (see screenshot).
- In the Context toolbar, set the Fill to red (BB010B) and the Stroke to Null.
- Duplicate the circle and drag it to the right of the original circle.
- With the circle still selected, click the Convert to Pie button in the Context Toolbar. Next, click the Invert Angles button.
- Now, click the Convert to Curves button (see screenshot).
- With the Move tool, drag the quarter circle to the lower left corner.
- Duplicate the quarter circle. With the duplicate still selected, click the Flip Horizontal icon in the Toolbar. Drag this quarter to the lower right corner.
- Duplicate the quarter again and click the Flip Vertical icon. Drag it to the upper right corner.
- Finally, duplicate the quarter and click the Flip Horizontal icon. Drag the quarter to the upper left corner.
- Select the center circle and the four quarter circles. Right-click and choose Group.
- With the new group selected, click Edit - Duplicate from the top menu. Drag the duplicate to the right edge of the original tile.
- Click Edit - Duplicate again and you should get a new tile to the right of the second tile. Repeat this step to fill the top row of tiles.
- Select all of the tiles in the row and group them.
- Click Edit - Duplicate and position the duplicate row directly under the top row.
- Repeat the process to fill the entire canvas.
- With the Rectangle tool, draw a rectangle over the entire canvas and change the Fill to White.
- In the Layers panel, drag the rectangle's layer to the bottom of the panel.
- Click File - Save As and save your paper to your hard drive.
- Remove all but the first repeat tile.
- Duplicate the center red dot twice, to get a total of three dots.
- Place the three dots nicely within the center of the tile.
- Change the colors of two dots to green (016F57) and one dot to yellow (DBB42C) (see screenshot).
- Create the duplicate tiles across and down the canvas.
- Save your file.
Let's turn on the grid. It will help us create the 1 inch repeatable tile.
We only need a quarter of this circle, which we will place at the corner of the 1 inch grid square. Let's convert this circle to a quarter circle.
Now that we have the quarter circle, let's place it at the lower left corner of the tile. We will also duplicate the quarter circle for the other three corners.
That completes the repeatable tile (see screenshot). Now we just need to duplicate the tile across and down the canvas. But first we will group all of the pieces of the tile together.
Let's add a solid white background to the canvas.
Now you have your digital paper of red dots.
We can take this design a step further by changing just one dot.
Affinity Designer screenshots used by permission of Serif (Europe) Ltd. This article is not endorsed by Serif® Ltd.

Related Articles
Editor's Picks Articles
Top Ten Articles
Previous Features
Site Map
Content copyright © 2023 by Diane Cipollo. All rights reserved.
This content was written by Diane Cipollo. If you wish to use this content in any manner, you need written permission. Contact Diane Cipollo for details.


